Hey there, fellow audio enthusiasts! As a supplier of the 9750 uni - directional microphone, I've gotten tons of questions about the best position to place this bad boy for vocals. Today, I'm gonna break it all down for you.
First off, let's understand what a uni - directional microphone is. The 9750 uni - directional microphone is designed to pick up sound primarily from one direction. This means it's great at focusing on the source of the sound (in our case, the vocalist) and reducing background noise. It's like having a little audio spotlight that shines right on what you want to capture.
On - Axis Placement
The most common and often the best position for vocals is on - axis. This means the vocalist should be directly in front of the microphone, facing the diaphragm. When the mic is on - axis, it captures the purest and most accurate sound. The frequency response is flat, which means you're getting the full range of the vocalist's voice without any unexpected boosts or cuts.
For the 9750, the on - axis placement is super effective because it's engineered to provide a clear and crisp sound when the source is directly in front. You'll notice that the vocals have more presence and are easier to mix later on. If you're recording in a studio, this is the go - to position. Just set up the mic stand so that the microphone is at the same height as the vocalist's mouth, usually around chest or chin level.
Off - Axis Considerations
But what if you can't place the vocalist directly in front? Well, that's where off - axis placement comes in. Off - axis means the vocalist is at an angle to the microphone. When you move off - axis, the frequency response of the microphone changes. High frequencies start to roll off, and the sound becomes a bit warmer and more subdued.
This can be useful in some situations. For example, if the vocalist has a really bright or harsh voice, off - axis placement can help smooth out the sound. You can experiment with different angles, but generally, an angle of around 30 - 45 degrees can give you a nice, natural sound. Just be careful not to go too far off - axis, as the sound can start to get muddy and lose clarity.
Height and Distance
The height and distance of the microphone from the vocalist are also crucial factors. As I mentioned earlier, the height should be around chest or chin level. But what about the distance?
For the 9750, a distance of about 6 - 12 inches is usually ideal. If the vocalist is too close (less than 6 inches), you might get the proximity effect. The proximity effect is when low frequencies are boosted as the source gets closer to the microphone. This can make the vocals sound overly bassy and boomy. On the other hand, if the vocalist is too far away (more than 12 inches), the sound can become thin and lack presence.
Room Acoustics
Don't forget about the room you're recording in. The acoustics of the room can have a big impact on the sound. If the room is too live (has a lot of reverb), it can make the vocals sound echoey. In this case, you might want to place the microphone closer to the vocalist to reduce the amount of reflected sound it picks up.
On the other hand, if the room is too dead (has very little reverb), the vocals can sound dry and lifeless. You can try using some artificial reverb in post - production, but it's always better to get the best sound possible during recording. Consider using acoustic treatment like bass traps and absorption panels to control the room acoustics.
Use Cases
Let's talk about different use cases. If you're doing live streaming, the on - axis placement is still the way to go. You want to capture the best possible sound for your viewers. Our High - Quality Microphone Capsule For Live Streaming can really enhance the audio quality during live performances.
For guitarists who are also singing, you might need to find a balance. You can use a 10mm Guitar Pickup Microphone Capsule for the guitar and the 9750 for vocals. Place the guitar pickup near the soundhole of the guitar and the 9750 for the vocals on - axis.
In a podcasting setup, the on - axis placement is again the best option. It ensures that the voices of the hosts are clear and easy to listen to. You can even use multiple 9750 microphones if you have more than one host.
Experimentation is Key
At the end of the day, there's no one - size - fits - all answer. Every vocalist is different, and every recording situation is unique. You need to experiment with different positions to find what works best for you. Try different heights, distances, and angles. Record a few takes and listen back to see which position gives you the best sound.
If you're having trouble getting the right sound, don't hesitate to reach out. We're here to help you make the most of your 9750 uni - directional microphone. Whether you're a professional audio engineer or just starting out, we've got the expertise to guide you.
The Core of the Matter
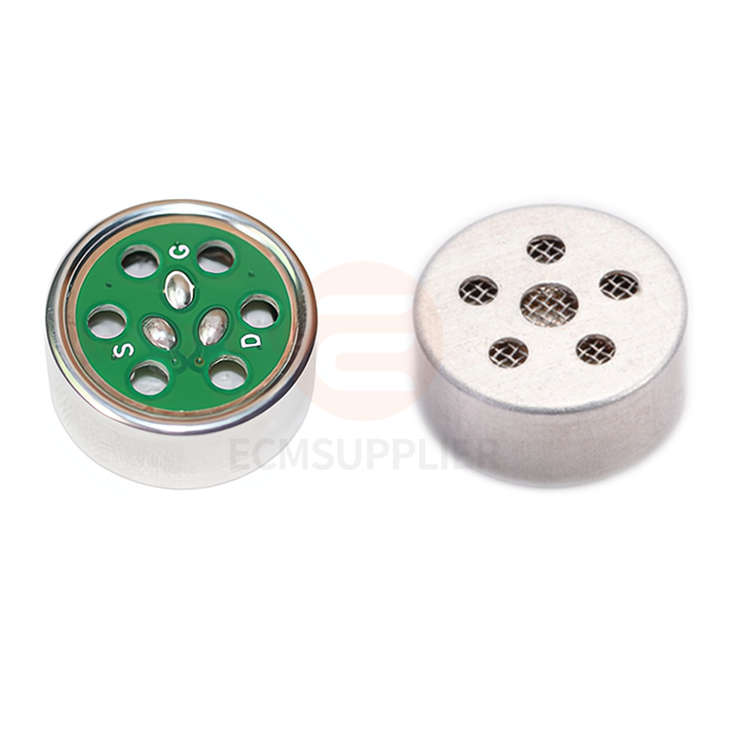
The Electret Condenser Microphone Capsule Core of the 9750 is what makes it such a great microphone for vocals. It's designed to capture the nuances of the human voice with precision. Understanding how to place the microphone correctly can really unlock the full potential of this core technology.
So, if you're in the market for a high - quality uni - directional microphone for vocals, the 9750 is a top choice. And if you're already using one, I hope this guide has given you some new ideas on how to place it for the best results.
Let's Connect
If you're interested in purchasing the 9750 uni - directional microphone or have any questions about its placement or performance, we'd love to hear from you. Reach out to us, and let's start a conversation about how we can meet your audio needs. Whether you're a small independent artist or a large production studio, we've got the solutions for you.
References
- "Microphone Technique Handbook" by F. Alton Everest
- "The Mixing Engineer's Handbook" by Bobby Owsinski


