Is the 6026 electret microphone compatible with Arduino?
As a supplier of the 6026 electret microphone, I often receive inquiries from customers about its compatibility with Arduino. In this blog post, I'll explore this topic in detail, providing a comprehensive analysis of the technical aspects and practical considerations.
Understanding the 6026 Electret Microphone
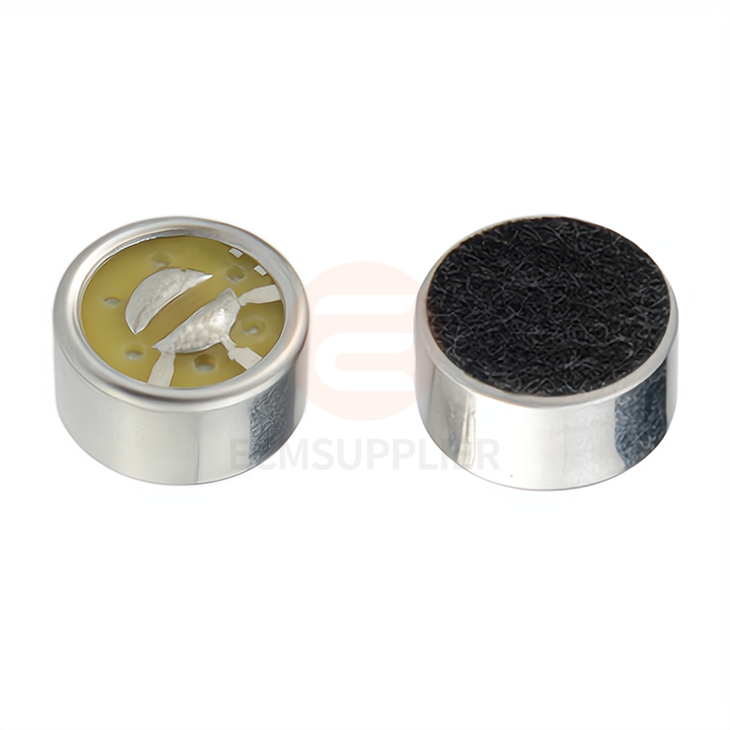
The 6026 Electret Microphone is a high - performance audio sensor. Electret microphones are a type of condenser microphone that use a permanently charged dielectric material, known as an electret. This design offers several advantages, including low cost, small size, and good frequency response.
The 6026 model has a specific set of electrical characteristics. It typically operates within a certain voltage range, has a defined sensitivity, and impedance. These parameters are crucial when considering its compatibility with other devices, such as Arduino.
Arduino: A Popular Open - Source Platform
Arduino is an open - source electronics platform based on easy - to - use hardware and software. It is widely used by hobbyists, students, and professionals for a variety of projects, including those involving audio input. Arduino boards come with analog and digital input/output pins, which can be used to interface with different sensors and actuators.
The analog input pins on Arduino are particularly relevant when dealing with microphones. They can read the analog voltage signals produced by the microphone and convert them into digital values that can be processed by the Arduino's microcontroller.
Compatibility Factors
Electrical Compatibility
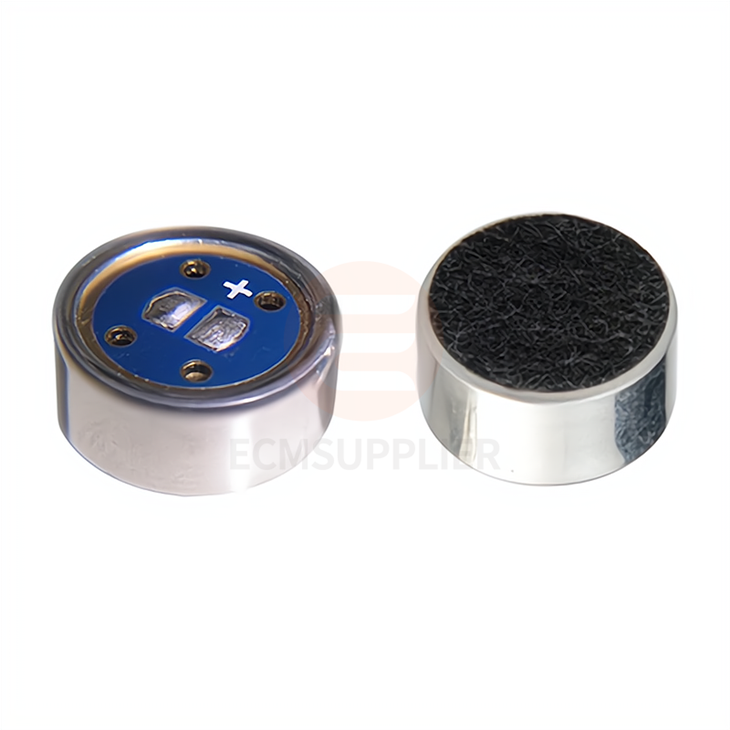
One of the primary concerns when connecting the 6026 electret microphone to Arduino is electrical compatibility. The microphone requires a power supply to operate. Most electret microphones need a bias voltage, which is usually provided through a resistor connected to the positive power supply.
Arduino boards typically provide 5V or 3.3V power outputs. The 6026 electret microphone should be able to operate within this voltage range. However, it's important to check the microphone's datasheet to ensure that the power supply voltage is within its specified limits.
Another aspect is the output signal of the microphone. The microphone produces an analog voltage signal that varies with the sound pressure. The amplitude of this signal should be within the input range of the Arduino's analog input pins. If the signal is too large, it may saturate the input, leading to distorted readings. On the other hand, if the signal is too small, it may be difficult to distinguish from the noise.
Signal Conditioning
In many cases, the raw output of the 6026 electret microphone may need to be conditioned before it can be effectively read by Arduino. Signal conditioning can involve amplification and filtering.
Amplification is often necessary because the output signal of the microphone may be too weak. An operational amplifier (op - amp) circuit can be used to increase the signal strength. This allows the Arduino to detect smaller changes in the sound level.
Filtering is also important. The microphone may pick up unwanted noise and interference, especially at high frequencies. A low - pass filter can be used to remove these high - frequency components, leaving only the desired audio signal.
Software Compatibility
Once the hardware is properly connected and the signal is conditioned, software compatibility comes into play. Arduino uses a programming language based on C/C++. To read the audio data from the microphone, appropriate code needs to be written.
The Arduino analogRead() function can be used to read the voltage values from the analog input pin connected to the microphone. These values can then be processed further, for example, to calculate the sound level or to detect specific audio patterns.
Practical Examples
Let's consider a simple example of connecting the 6026 electret microphone to an Arduino Uno board.
First, connect the power supply of the microphone. Connect the positive terminal of the microphone to the 5V output of the Arduino through a 10kΩ resistor. Connect the negative terminal to the ground of the Arduino. Then, connect the output terminal of the microphone to one of the analog input pins, say A0.
Here is a basic Arduino code example to read the audio signal:
const int microphonePin = A0;

void setup() {
  Serial.begin(9600);
}

void loop() {
  int sensorValue = analogRead(microphonePin);
  Serial.println(sensorValue);
  delay(100);
}
This code reads the analog value from the microphone every 100 milliseconds and prints it to the serial monitor.
Comparison with Other Microphones
It's also interesting to compare the 6026 electret microphone with other microphones in terms of compatibility with Arduino. For example, the 9750 Electret Condenser Microphone and the 9750 Bidirectional Microphone Element have their own unique characteristics.
The 9750 models may have different sensitivities, frequency responses, and power requirements. When choosing a microphone for an Arduino project, these differences need to be considered based on the specific requirements of the project. For instance, if a project requires a microphone with a wider frequency response, the 9750 models might be a better choice. However, the 6026 electret microphone can still be a great option for many basic audio - related Arduino projects due to its simplicity and cost - effectiveness.
Conclusion
In general, the 6026 electret microphone is compatible with Arduino, but proper attention needs to be paid to electrical and software aspects. By ensuring that the power supply is within the microphone's specifications, conditioning the signal appropriately, and writing the right code, users can successfully integrate the 6026 microphone into their Arduino projects.
If you are interested in using the 6026 electret microphone for your Arduino projects or have any questions about its compatibility, feel free to reach out for more information. We are here to assist you in making the best choice for your audio - related needs.
References
- Arduino official documentation
- 6026 electret microphone datasheet
- 9750 Electret Condenser Microphone product information
- 9750 Bidirectional Microphone Element product information


