Hey there! As a supplier of the 6027 omnidirectional microphone, I'm stoked to share some tips on how to keep this awesome piece of gear in tip - top shape. Whether you're a professional audio engineer, a content creator, or just someone who loves high - quality sound, proper maintenance of your 6027 omnidirectional microphone is key to getting the best performance out of it.
1. Understanding the 6027 Omnidirectional Microphone
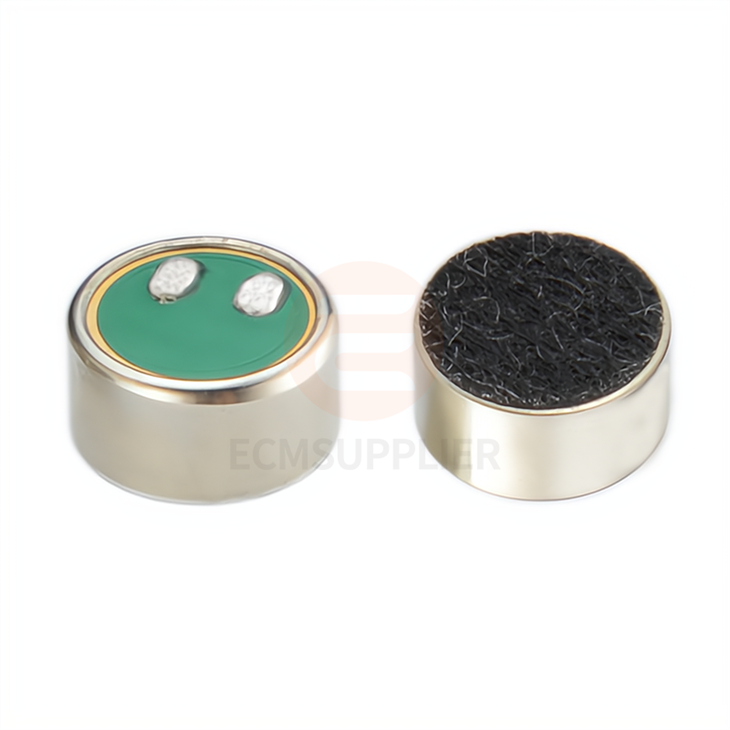
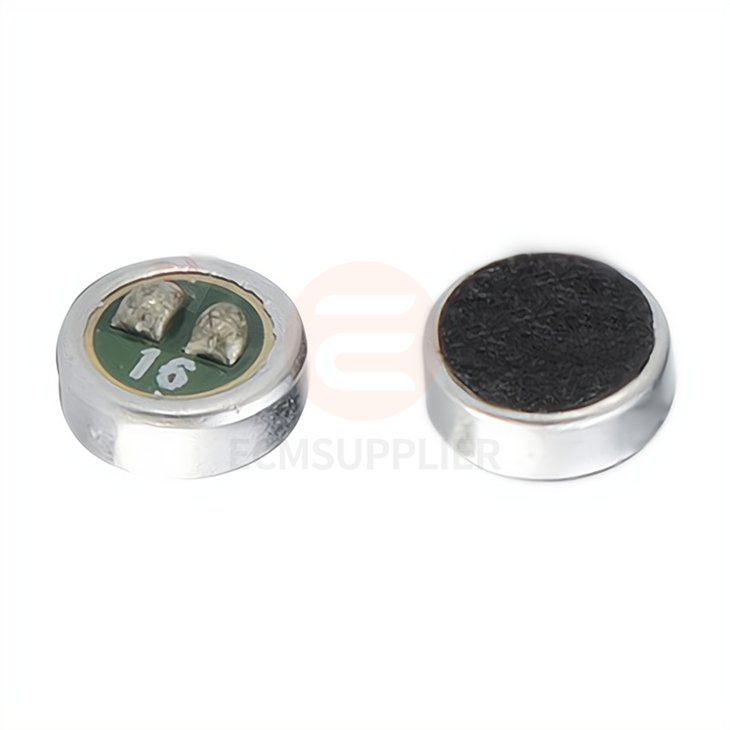
Before we dive into maintenance, let's quickly go over what makes the 6027 omnidirectional microphone so great. This mic is designed to pick up sound from all directions, which is super handy in a bunch of different situations. It can be used for live performances, recording podcasts, voice - overs, and so much more.
The 6027 uses advanced technology to ensure clear and crisp sound. It has features like the Omnidirectional Anti - Interference Electric Mic, which helps reduce unwanted background noise. And the Large Diaphragm Cartridge Core Capsule enhances the mic's sensitivity, allowing it to capture even the subtlest of sounds. Also, the Omni - Directional Electret Condenser Capsule is a key component that gives the mic its omnidirectional pickup pattern.
2. Cleaning the Microphone
Cleaning is one of the most important aspects of microphone maintenance. Over time, dust, dirt, and even skin oils can build up on the microphone, which can affect its performance.
Exterior Cleaning
Start by unplugging the microphone from any power source or audio equipment. Use a soft, dry cloth to gently wipe the exterior of the mic. Avoid using harsh chemicals or abrasive materials, as these can damage the finish. If there are stubborn stains, you can slightly dampen the cloth with water, but make sure it's not too wet. Wring it out well before wiping the mic.
Mesh Grille Cleaning
The mesh grille is where the sound enters the microphone, so it's important to keep it clean. You can use a small brush, like a makeup brush or a soft paintbrush, to gently remove any dust or debris from the grille. Be careful not to push the debris further into the grille. If the grille is really dirty, you can remove it (if it's removable) and soak it in warm, soapy water for a few minutes. Rinse it thoroughly and let it dry completely before putting it back on the microphone.
Internal Cleaning
Internal cleaning should be done less frequently and is a bit more delicate. If you notice a significant drop in performance, you might want to consider having a professional clean the internal components. However, if you're confident in your abilities, you can use compressed air to blow out any dust from the inside of the microphone. Make sure to hold the can of compressed air upright and use short, quick bursts to avoid damaging the internal parts.
3. Storage
Proper storage is crucial for maintaining the microphone's longevity.
When Not in Use
When you're not using the 6027 omnidirectional microphone, store it in a protective case. This will protect it from dust, dirt, and physical damage. Make sure the case is clean and dry before putting the microphone inside. If you don't have a case, you can wrap the microphone in a soft cloth and place it in a safe place.
Temperature and Humidity
Avoid storing the microphone in extreme temperatures or high - humidity environments. High temperatures can cause the internal components to expand and contract, which can lead to damage. Humidity can cause corrosion and mold growth. Try to store the microphone in a cool, dry place with a stable temperature and humidity level.
4. Handling
How you handle the microphone can also have a big impact on its lifespan.
Gentle Handling
Always handle the microphone gently. Avoid dropping it or hitting it against hard surfaces. Even a small impact can damage the internal components, which can affect the sound quality. When picking up the microphone, hold it by the body, not the cables or the grille.
Cable Management
The cables are an important part of the microphone setup. Make sure to keep the cables organized and untangled. Avoid pulling on the cables too hard, as this can damage the connectors or the cables themselves. When you're done using the microphone, carefully coil the cables and store them properly.
5. Electrical Connections
Proper electrical connections are essential for the microphone to work correctly.
Plugging and Unplugging
When plugging in the microphone, make sure the connectors are clean and dry. Align the connectors properly and gently insert them into the audio equipment. Avoid forcing the connectors, as this can damage the pins. When unplugging the microphone, hold the connector, not the cable, and gently pull it out.
Cable Inspection
Regularly inspect the cables for any signs of damage, such as fraying or exposed wires. If you notice any damage, replace the cable immediately. Using a damaged cable can not only affect the sound quality but can also be a safety hazard.
6. Regular Testing
Regular testing is a great way to catch any potential problems early.
Sound Quality Testing
Periodically test the microphone's sound quality. You can do this by recording a short audio clip and listening to it. Pay attention to any distortion, background noise, or other issues. If you notice any problems, try cleaning the microphone or checking the electrical connections. If the problem persists, it might be time to have the microphone serviced.
Frequency Response Testing
If you have the equipment, you can also test the microphone's frequency response. This will give you a more detailed understanding of how the microphone is performing across different frequencies. A significant deviation from the normal frequency response could indicate a problem with the microphone.
7. Calibration
Calibration is important to ensure that the microphone is providing accurate sound reproduction.
Professional Calibration
It's recommended to have the microphone calibrated by a professional at least once a year. A professional calibration can adjust the microphone's settings to ensure optimal performance. They can also check for any internal issues that might not be apparent during normal use.
Self - Calibration
If you're familiar with audio equipment and calibration procedures, you can attempt to calibrate the microphone yourself. However, this should only be done if you're confident in your abilities. You'll need to use specialized calibration tools and follow the manufacturer's instructions carefully.
Contact for Purchase and Further Inquiries
If you're interested in purchasing the 6027 omnidirectional microphone or have any questions about maintenance or other aspects of the product, feel free to reach out to us. We're always happy to help you with your audio needs and ensure that you get the most out of our products.
References
- General knowledge of audio equipment maintenance.
- Manufacturer's guidelines for the 6027 omnidirectional microphone.


