Hey there, fellow audio enthusiasts! As a supplier of the 3015 electret microphone, I'm super stoked to share some tips on how to use this bad boy in a studio environment. Whether you're a newbie just starting out or a seasoned pro looking to up your game, this blog's for you.
Getting to Know the 3015 Electret Microphone
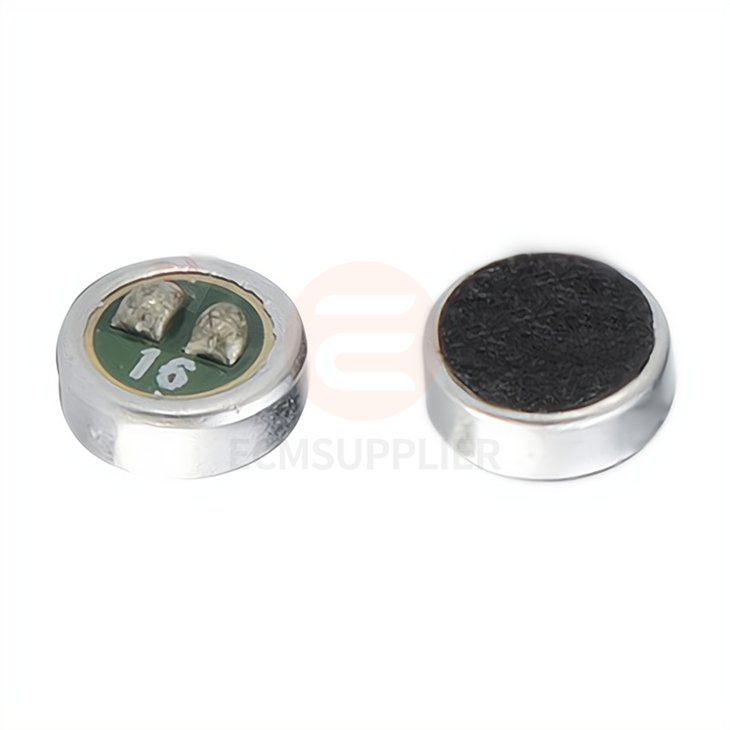
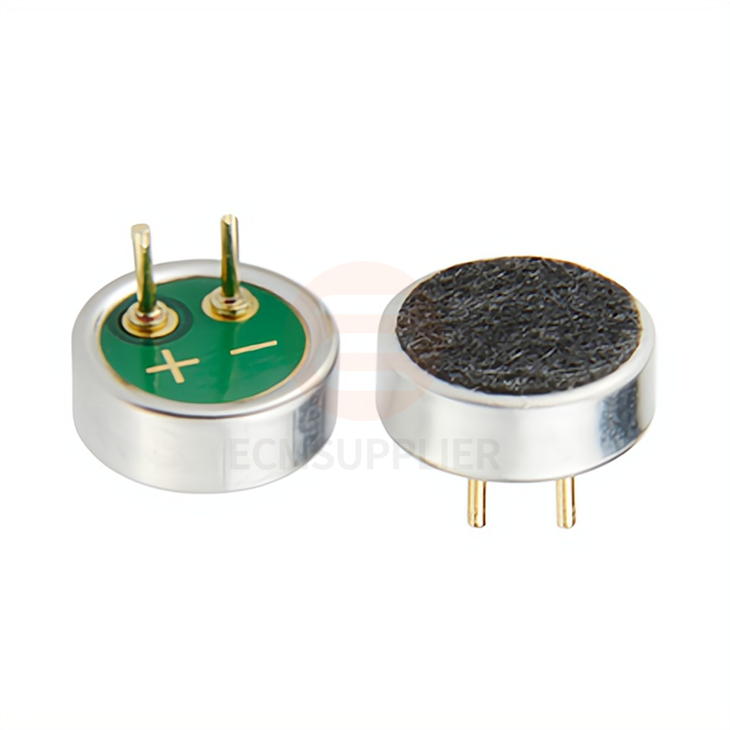
First things first, let's talk a bit about what makes the 3015 electret microphone so special. These mics are known for their solid performance, reliability, and affordability. They're great for a wide range of studio applications, from recording vocals to capturing instrument sounds.
The 3015 electret microphone uses an electret condenser design, which means it has a built - in charge on the diaphragm. This allows it to be more sensitive compared to some other types of microphones. It can pick up even the subtlest nuances in sound, making it perfect for detailed recordings.
Setting Up Your Studio for the 3015
Before you start using the 3015 electret microphone, you need to set up your studio properly. First, find a quiet space. Background noise can really mess up your recordings, so try to minimize it as much as possible. You can use acoustic panels on the walls to absorb sound reflections and reduce echo.
Next, position your microphone correctly. For vocal recordings, place the 3015 about 6 - 12 inches away from the singer's mouth. This distance helps to capture a clear and natural sound. If you're recording instruments, the ideal distance will vary depending on the instrument. For example, for a guitar, you might want to place the mic a bit closer, around 2 - 6 inches, to get a more direct and focused sound.
Connecting the 3015
Connecting the 3015 electret microphone to your audio interface is pretty straightforward. Most 3015 mics come with a standard XLR connector. Plug one end of the XLR cable into the microphone and the other end into the input of your audio interface.
Once it's connected, you'll need to power the microphone. Most audio interfaces provide phantom power, which is usually +48V. Make sure to check your audio interface's manual to see how to enable phantom power. When you turn on the phantom power, you'll notice that the microphone starts working and you can start capturing sound.
Recording Vocals with the 3015
When it comes to recording vocals, the 3015 can really shine. As I mentioned earlier, proper positioning is key. Have the singer stand or sit in front of the microphone and speak or sing at a natural volume. You can adjust the gain on your audio interface to get the right level of sound.
It's also a good idea to use a pop filter. A pop filter helps to reduce those harsh "p" and "b" sounds that can cause distortion in your recordings. You can easily attach a pop filter to a mic stand in front of the 3015.
During the recording session, listen carefully to the sound. If the vocals sound too harsh or thin, you might need to adjust the EQ settings on your audio software. You can boost the mid - frequencies to add more warmth and presence to the vocals.
Recording Instruments with the 3015
The 3015 is also great for recording instruments. For drums, you can place the microphone above the snare drum to capture a good overall sound. You can also use it to record acoustic guitars. Just position the mic in front of the soundhole or near the fretboard, depending on the sound you want to achieve.
When recording a piano, you can place the 3015 inside the piano, near the strings. This can give you a rich and full - bodied sound. However, make sure to be careful not to touch the strings while placing the microphone.
Comparing with Other Mics
If you're considering different microphones for your studio, you might also want to check out some of our other products. For example, the Omnidirectional Anti - Interference Electric Mic is another great option. It has an omnidirectional pickup pattern, which means it can pick up sound from all directions. This can be useful in some situations, like when you're recording a group of people or a large acoustic space.
The 4015 Electret Microphone is also worth a look. It has slightly different characteristics compared to the 3015, and it might be a better fit for certain types of recordings.
And if you're looking for a microphone head with a long pin, the 6022 Long Pin Microphone Head could be the one for you. It offers unique features that can enhance your audio recording experience.
Tips for Better Recordings
Here are some extra tips to make your recordings with the 3015 even better. First, do some test recordings before you start the actual session. This way, you can adjust the settings and make sure everything sounds good.
Second, use multiple takes. Sometimes, the first take might not be perfect. By recording multiple takes, you can choose the best one later.
Finally, take care of your microphone. Keep it clean and store it in a safe place when not in use. This will help to ensure its longevity and consistent performance.
Wrapping Up and Reaching Out
Well, that's all for now on how to use the 3015 electret microphone in a studio environment. I hope you found these tips helpful. Whether you're just starting your audio journey or looking to upgrade your current setup, the 3015 can be a great addition to your studio.
If you're interested in purchasing the 3015 electret microphone or any of our other products, we're here to help. Reach out to us for more information and to start a procurement discussion. We're always happy to assist you in finding the right audio solutions for your needs.
References
- Audio Engineering Society Handbook on Microphone Technology
- Professional Recording Studio Setup Guide


