Hey there! As a supplier of omnidirectional microphones, I've seen a lot of folks struggle with keeping these little audio gems in tip - top shape. Omnidirectional microphones are super handy because they can pick up sound from all directions, making them perfect for a bunch of different uses like podcasting, live performances, and recording lectures. But just like any piece of tech, they need some love and care to work their best. So, let's dive into how you can maintain an omnidirectional microphone.
Cleaning Your Microphone
First things first, cleaning is crucial. Dust, dirt, and even tiny particles of skin can build up on your microphone over time. This not only looks bad but can also affect the sound quality.
For the exterior, a soft, dry cloth is your best friend. Gently wipe down the body of the microphone to remove any surface dust. If there are stubborn marks, you can dampen the cloth slightly with a bit of water. But make sure it's not too wet! You don't want any moisture getting inside the microphone.
The microphone grille is where most of the action happens. That's where the sound waves enter. Over time, it can get clogged with lint, hair, and other debris. A small, soft - bristled brush, like a makeup brush or a paintbrush, can be used to carefully clean the grille. Just brush gently to dislodge any particles.
Now, if you're dealing with a more serious build - up, like sticky residue from fingerprints or spills, you can use a mild, alcohol - free cleaner. Spray a bit on a cloth and then wipe the affected area. But remember, never spray the cleaner directly on the microphone.
Storing Your Microphone Properly
When you're not using your omnidirectional microphone, storing it correctly is key. A hard - shell case is ideal. It protects the microphone from physical damage, like being bumped or dropped. Plus, it keeps dust and dirt away.
If you don't have a case, at least use a soft, padded pouch. Make sure to keep the microphone in a cool, dry place. Avoid storing it in areas with high humidity, like basements or bathrooms. Humidity can cause corrosion and damage to the internal components.
Also, keep the microphone away from extreme temperatures. Don't leave it in a hot car or in a freezing garage. Fluctuations in temperature can cause the microphone to expand and contract, which might lead to internal damage.
Handling Your Microphone with Care
How you handle your microphone on a day - to - day basis can make a big difference in its lifespan. Always hold the microphone by the body, not the cable. The cable is delicate and can easily get damaged if you pull or tug on it.
When you're attaching or detaching the cable, do it gently. Don't yank it out. A proper connection is essential for good sound quality, and rough handling can damage the connectors.
If you're using a stand for your microphone, make sure it's stable. A wobbly stand can cause the microphone to vibrate, which can introduce unwanted noise into your recordings.
Checking the Cable Regularly
The cable is an important part of the microphone setup. Over time, it can develop kinks, frays, or breaks. Check the cable regularly for any signs of damage.
If you notice a small fray, you can use electrical tape to cover it up temporarily. But if the damage is more severe, like a break in the cable, it's best to replace it. A damaged cable can cause audio problems, like static or drop - outs.
Also, when you're coiling the cable, do it gently. Don't make tight loops or knots. A loose, figure - eight coil is a good way to store the cable without causing damage.
Calibration and Testing
Periodically, you should calibrate and test your omnidirectional microphone. This ensures that it's working at its best.
Most modern microphones have some form of self - calibration feature. Refer to the user manual to see how to perform the calibration. It usually involves a few simple steps, like connecting the microphone to a device and following on - screen prompts.
Testing the microphone is also important. You can do this by recording a short audio clip. Listen carefully for any strange noises, like hiss, crackle, or distortion. If you notice any issues, it might be time to have the microphone checked by a professional.
Using the Right Accessories
Using the right accessories can also help in maintaining your omnidirectional microphone.
A pop filter is a must - have. It helps reduce plosive sounds, like the "p" and "b" sounds in speech. This not only improves the sound quality of your recordings but also protects the microphone from moisture and saliva that can be expelled when speaking.
A shock mount is another great accessory. It isolates the microphone from vibrations, like those caused by footsteps or equipment movement. This helps prevent unwanted noise from being picked up.
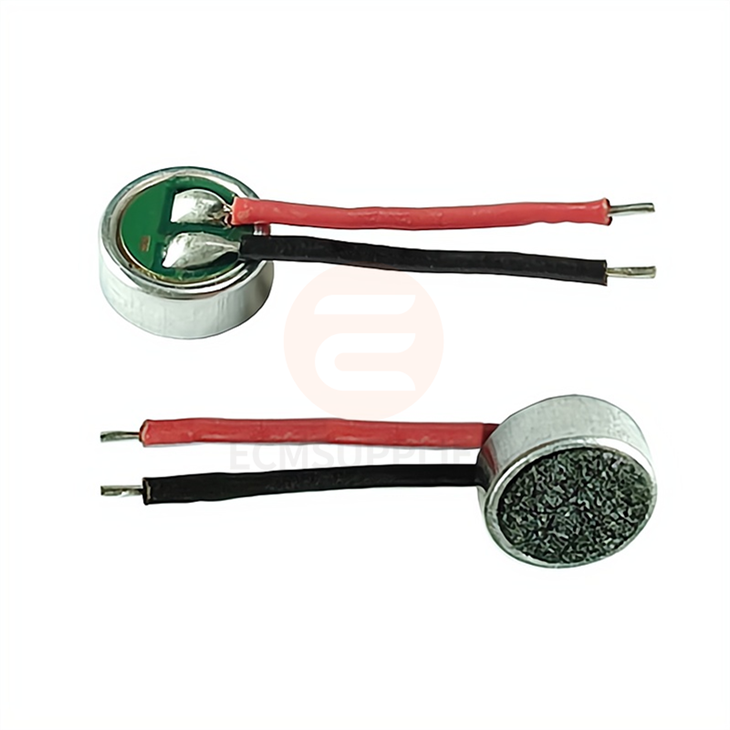
Now, as a supplier, I want to introduce some of our great omnidirectional microphones. We have the 4015 Electret Condenser Microphone with Soldering Wire. It's a high - quality microphone that offers excellent sound pickup in all directions.
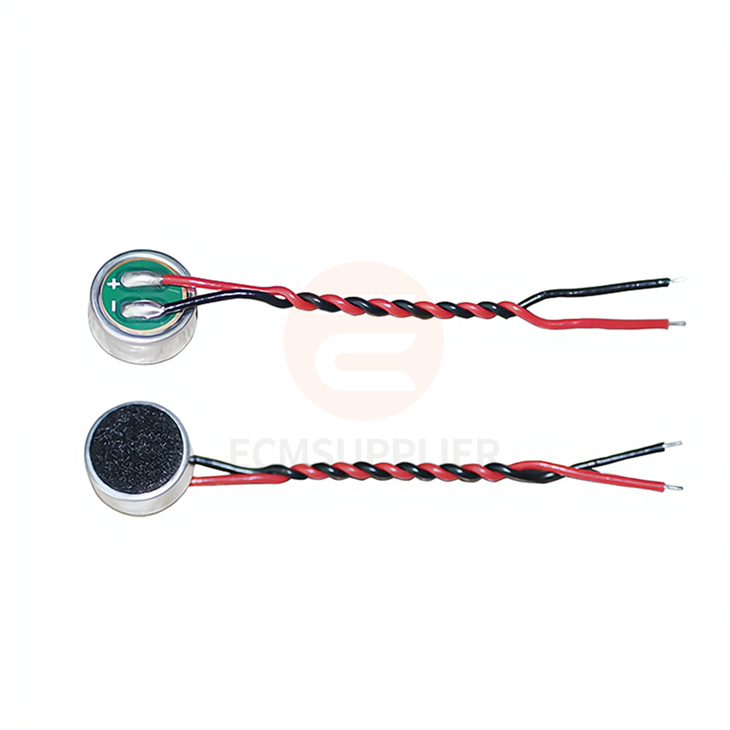
The 6027 Electret Microphone is another great option. It's compact and lightweight, making it perfect for portable recording setups.
And if you're looking for a microphone that can be easily integrated into a PCB, the 5820 Omni - Directional PCB Condenser Microphone Electret is a top - notch choice.
If you're interested in purchasing any of our omnidirectional microphones or have any questions about maintenance, feel free to reach out. We're here to help you make the most of your audio equipment. Whether you're a professional audio engineer or just a hobbyist, our microphones are designed to meet your needs.
References
- Manufacturer's user manuals for omnidirectional microphones
- General audio equipment maintenance guides
- Industry best practices for microphone care and handling


