Hey there! As a supplier of 6027 electret microphones, I often get asked about how to connect multiple 6027 electret microphones together. It's a great question, especially for those looking to enhance sound capture in large spaces or for specific audio projects. In this blog post, I'll walk you through the process step by step.
First off, let's talk a bit about the 6027 Electret Microphone. These microphones are known for their high - quality sound pickup and are widely used in various applications, like audio recording, voice - activated systems, and more. They're omnidirectional, which means they can pick up sound from all directions.
Why Connect Multiple Microphones?
There are several reasons why you might want to connect multiple 6027 electret microphones. Maybe you're recording in a large hall or auditorium, and a single microphone won't cover the whole area. Or perhaps you're working on a project where you need to capture sound from different angles simultaneously. By connecting multiple microphones, you can get a more comprehensive and balanced audio recording.
What You'll Need
Before we start connecting the microphones, let's gather the necessary tools and materials:

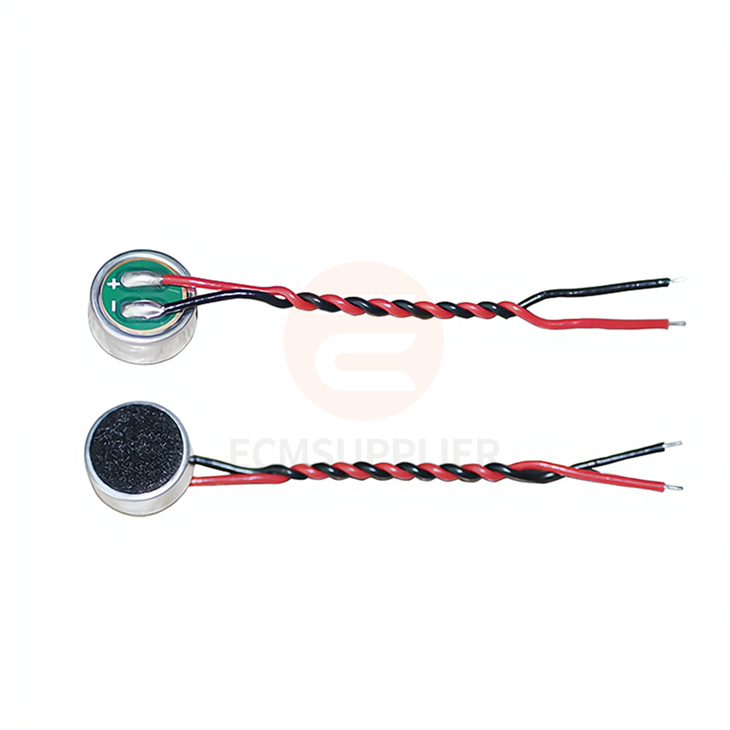
- Multiple 6027 Electret Condenser Microphone with Soldering Wire units. The soldering wire will come in handy when making the electrical connections.
- A soldering iron and solder. Make sure you're familiar with how to use a soldering iron safely.
- A breadboard or a PCB (Printed Circuit Board) if you want a more permanent setup.
- Jumper wires for making connections on the breadboard.
- A power source. The 6027 electret microphones usually require a DC power supply, typically around 2 - 5V.
- An audio amplifier or a mixer. This will help you combine the audio signals from the microphones and amplify them if needed.
Step - by - Step Connection Process
1. Understanding the Microphone Pins
The 6027 electret microphone typically has three pins: power (VCC), ground (GND), and signal (OUT). The power pin is used to supply power to the microphone, the ground pin is connected to the negative terminal of the power source, and the signal pin is where the audio signal comes out.
2. Power Connection
First, we need to connect the power pins of all the microphones together. Using the soldering iron, carefully solder the VCC pins of each microphone to a common wire. This wire will then be connected to the positive terminal of the power source. Similarly, connect all the ground (GND) pins together and connect this common wire to the negative terminal of the power source.
If you're using a breadboard, you can simply insert the VCC pins of the microphones into the positive power rail and the GND pins into the negative power rail. Then, use jumper wires to connect the power rails to the power source.
3. Signal Connection
Now, let's deal with the signal pins. The signal from each microphone needs to be combined. One way to do this is to use a mixer. Connect the signal (OUT) pins of each microphone to the input channels of the mixer. The mixer will then combine these signals into a single output.
If you don't have a mixer, you can use a simple resistor network to combine the signals. Connect a resistor (around 1 - 10kΩ) to the signal pin of each microphone. Then, connect the other ends of these resistors together. This common point will be the combined audio signal.
4. Amplification
The combined audio signal might be weak, so you'll probably need to amplify it. Connect the output of the mixer or the combined signal from the resistor network to the input of an audio amplifier. The amplifier will boost the signal to a usable level.
5. Testing
Once you've made all the connections, it's time to test the setup. Power on the system and make some noise around the microphones. Use an audio monitoring device, like headphones or a speaker, connected to the output of the amplifier. If everything is working correctly, you should hear the combined audio from all the microphones.
Dealing with Interference
When connecting multiple microphones, you might encounter some interference issues. The Omnidirectional Anti - Interference Electric Mic can help reduce some of these problems. However, here are some additional tips:
- Keep the microphone cables as short as possible. Longer cables can pick up more electromagnetic interference.
- Use shielded cables for the signal connections. Shielded cables have a metal layer that helps block out external interference.
- Place the microphones at an appropriate distance from each other. If they're too close, they might pick up each other's signals and cause feedback or distortion.
Troubleshooting
If you're having problems with the setup, here are some common issues and their solutions:
- No sound: Check the power connections first. Make sure the microphones are getting power. Also, check the signal connections and the amplifier settings.
- Distorted sound: This could be due to improper gain settings on the amplifier or interference. Try reducing the gain or using shielded cables.
- Uneven sound levels: Make sure all the microphones are functioning properly. You might need to adjust the input levels on the mixer if you're using one.
Conclusion
Connecting multiple 6027 electret microphones together can be a great way to enhance your audio capture. With the right tools and a bit of patience, you can create a setup that meets your specific needs. Whether you're working on a professional audio project or a DIY experiment, the 6027 electret microphones offer a reliable and cost - effective solution.
If you're interested in purchasing 6027 electret microphones for your project, feel free to reach out for a procurement discussion. We're here to help you get the best products and support for your audio needs.
References
- Manufacturer's datasheet for the 6027 electret microphone.
- General knowledge of audio electronics and microphone connections.


