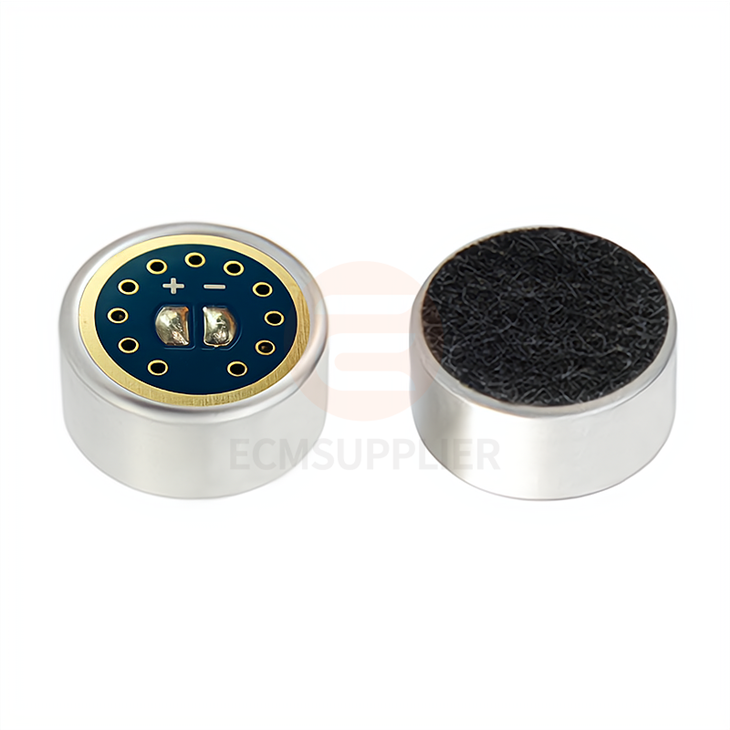
Hey there! As a supplier of the 9750 electret microphone, I often get asked about how to adjust the directionality of this nifty little device. So, I thought I'd share some insights with you all in this blog post.
First off, let's talk a bit about why directionality matters. The directionality of a microphone determines where it picks up sound from. A well - adjusted directionality can make a huge difference in the quality of the audio you're recording. Whether you're using it for a podcast, a live event, or just for some home recording, getting the directionality right is key.
Understanding the Basics of 9750 Electret Microphone Directionality
The 9750 electret microphone comes with different types of directionality patterns, and the most common ones are omnidirectional, unidirectional, and bidirectional.
- Omnidirectional: This pattern picks up sound equally from all directions. It's great for situations where you want to capture ambient noise or when there are multiple sound sources around you. For example, if you're recording an outdoor concert and want to get the full experience of the crowd, music, and other environmental sounds, an omnidirectional setting would be a good choice.
- Unidirectional: A unidirectional microphone is designed to pick up sound mainly from one direction. It's excellent for focusing on a single sound source, like a speaker at a conference. Our High Fidelity Low Noise Microphone Core is a great example of a product with a well - defined unidirectional pattern.
- Bidirectional: This pattern picks up sound from two opposite directions. It can be useful in some specific scenarios, such as when you have two people facing each other and you want to record both of their voices simultaneously.
Adjusting the Directionality
Now, let's get into the nitty - gritty of how to adjust the directionality of the 9750 electret microphone.
Physical Adjustments
Some models of the 9750 microphone allow for physical adjustments. Usually, there will be a switch or a dial on the microphone itself. If you see a switch, it might have settings labeled for different directionality patterns. For example, you might see "OMNI" for omnidirectional, "UNI" for unidirectional, and "BI" for bidirectional. Just flip the switch to the pattern you need.
If it's a dial, you'll need to turn it to the appropriate position. Sometimes, the markings on the dial might not be super clear, but you can do some test recordings to figure out which position corresponds to which pattern. Start by making a short recording in each position and then listen back to see how the sound changes.
Software Adjustments
In some cases, especially if you're using the microphone with a computer or a recording device that has software support, you can adjust the directionality through the software. For instance, if you're using a digital audio workstation (DAW) like Adobe Audition or Logic Pro, there might be settings within the software to change the microphone's directionality.
First, make sure your microphone is properly connected to your device. Then, open the software and look for the audio input settings. There, you might find options to select the directionality pattern. It's a bit more technical than the physical adjustments, but it gives you more flexibility, especially if you want to fine - tune the settings.
Factors Affecting Directionality Adjustment
There are a few factors that you need to keep in mind when adjusting the directionality of the 9750 electret microphone.
Distance from the Sound Source
The distance between the microphone and the sound source can impact how well the directionality works. If you're using a unidirectional microphone and you're too far away from the sound source, you might start picking up more ambient noise. On the other hand, if you're too close, the sound might be distorted. Experiment with different distances to find the sweet spot for your recording.
Surrounding Environment
The environment where you're using the microphone also matters. In a room with a lot of hard surfaces, sound can bounce around and cause interference. This can affect the accuracy of the directionality pattern. If possible, try to use the microphone in a room with some sound - absorbing materials, like acoustic panels.
Our Interference - Resistant Shotgun Microphone Capsule is designed to work well in various environments and can help reduce the impact of interference on the directionality.
Testing and Fine - Tuning
Once you've made your initial adjustments, it's crucial to test the microphone. Make a few test recordings and listen carefully to the audio. Pay attention to the clarity of the sound, whether there's too much background noise, and if the sound source you're focusing on is being picked up properly.
If you're not happy with the results, go back and make some more adjustments. You might need to try different settings or change the physical position of the microphone. It might take a few tries, but with a bit of patience, you'll be able to get the perfect directionality for your recording.
Use Cases and Best Practices
Let's take a look at some common use cases and the best directionality settings for each.
Podcasting
For podcasting, a unidirectional microphone is usually the best choice. It allows you to focus on the voices of the hosts and guests and reduces background noise. Our High Sensitivity Microphone Head For Conference Microphone can be a great option for podcasting, as it has a high - quality unidirectional pattern.
Live Performances
In a live performance setting, the choice of directionality depends on the type of performance. If it's a solo performance, a unidirectional microphone can help focus on the performer's voice or instrument. For a group performance, an omnidirectional microphone might be better to capture the overall sound of the group.
Conference Calls
During conference calls, a unidirectional microphone can be used to pick up the voice of the person speaking clearly. Place the microphone in front of the speaker at an appropriate distance to ensure good audio quality.
Conclusion
Adjusting the directionality of the 9750 electret microphone might seem a bit tricky at first, but with a little knowledge and some practice, you'll be able to do it like a pro. Whether you're a professional audio engineer or just someone who loves recording audio at home, getting the directionality right can make a huge difference in the quality of your recordings.
If you're interested in purchasing the 9750 electret microphone or have any questions about directionality adjustment, feel free to reach out to us for a purchase negotiation. We're here to help you get the best audio solutions for your needs.
References
- Microphone Handbook, by David Miles Huber
- Audio Engineering Society Journal, various issues on microphone technology


